With his first spoonful, my husband pronounced this blueberry jam to be “the blueberriest blueberry something he had ever eaten”. In this post, I’ll share my easy, low sugar blueberry jam recipe, plus answers to some blueberry tips and common jam questions. Which blueberries are best for blueberry jam? Choose blueberries that are fully ripe, […]
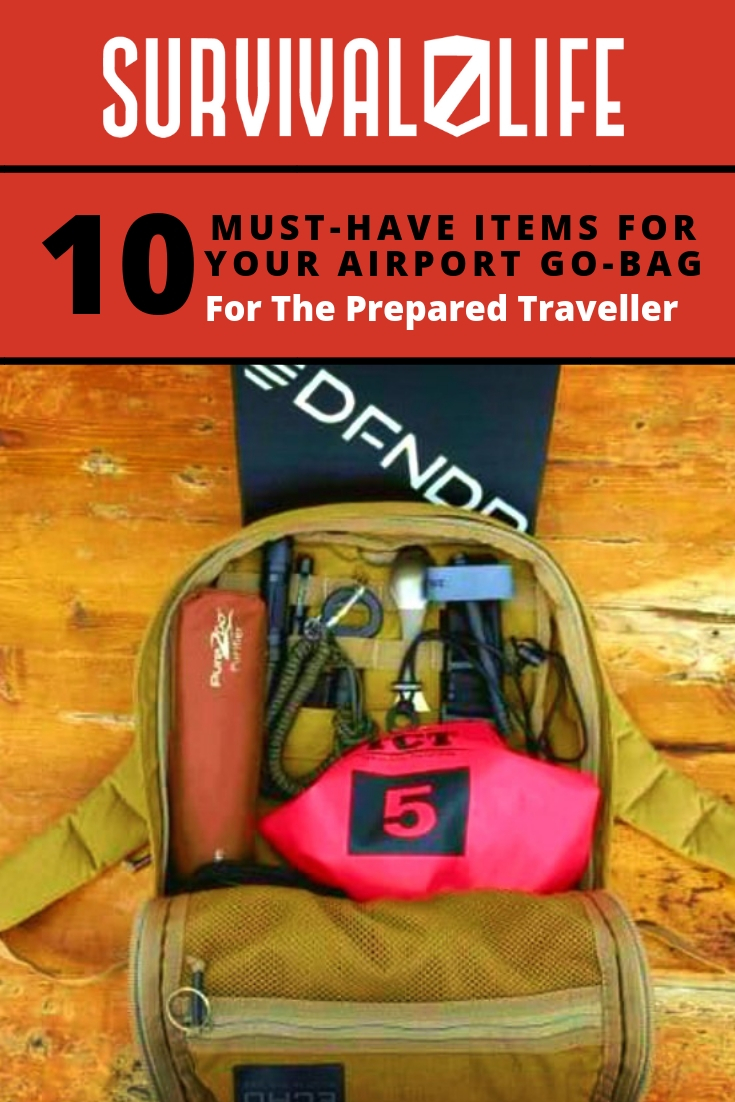
Airport security can deter you from bringing along adequate prepper supplies but having an airport go-bag or airport survival kit can save you. Your wallet can take a sizeable hit, you can miss your flight, or you can have your trip categorically ruined if you get detained just because of a piece of gear you unwittingly packed inside your bag.
Traveling by air has gotten a lot more complicated than it used to be. Not only are the counter and security lines getting longer and slower, but also the available choices for travel gear seem to diminish with each passing day.
Considering all the scrutiny continuously being added to the airport, it’s best to be sure and plan what exactly you should take with you in your travel go bag. With that in mind and these 10 must-have items for your airport go-bag, you'll be ready and safe during your travels.
1. Your Airport Go Bag Backpack, of course!
|
I recommend using backpacks or rucks with good staging areas for each piece of your gear. I suggest it to be:
A more compartmentalized gear so it will be easier for you to get something you need.
Light so it is easy and convenient to carry around.
Spacious to have a room in your travel go-bag for your comforts. Find out what additional gear you will need an account for when choosing a pack.
2. A Water Purifier
|
These foreign places may not be foreign to us in a regular sense but they are certainly foreign to our digestive systems. Having a water purifier is not just for emergency situations but it is certainly handy to have in your go-bag for your everyday traveling needs.
Having a good tactical flashlight gives me a bit more confidence in my readiness while traveling. So, I practice often with my tactical flashlights.
With the proper training, you have one heck of a self-defense tool which can save your life!
4. Some Backpack Body Armor
|
Look no further than recent events for validation of a body armor’s importance. Get the best you can afford and be careful with all the knock-offs available.
The last thing we want from our preparedness effort is a false sense of security.
You can cause ten times the damage than an ordinary pen if you plan on utilizing a real tactical pen for self-defense. It looks like a black pen and nothing more.
I can carry it in my pocket and just about anywhere, no one looks at it twice.
|
Serious survivalists never underestimate the value of basic cordage. Paracord is light and packs easily.
Most of us have paracord bracelets, belts, and other gadgets made from paracord. Having a few feet on extra cordage in your travel bag is always a good idea.
7. Small Dry Bag(s)
|
I keep a small dry bag in my travel go-bag because of this, along with some incidentals and tech gadgets in it. Anything can happen while traveling so it is a smart idea to protect your sensitive gear from the elements which may render them unserviceable.
8. A Spork
|
Yes, a spork. Those I use are made of titanium, making them lightweight as well as hypoallergenic. Your immune system gets taxed enough while we travel.
Any additional germs picked up from utensils left out in the open, countless fingers rummaging through them and you can see why a spork is a good piece of gear to have with you.
9. Electrical Tape
|
You know what they say about duct tape – it fixes anything. In our case, it repairs gear and builds temporary structures to make use of.
To avoid confiscation and being questioned in an international airport, you can use electrical tape. It has similar applications to what the duct tape offers and a smaller profile.
Everyone is aware matches and lighters are illegal on a plane. So in lieu of this, we carry a small Ferro rod.
It is incredibly lightweight and blends well with the pack. I use various Ferro rod necklaces and like to show them as a necklace to whoever is inspecting my travel bag.
Check out the full tutorial video on the items you should place in your airport go-bag by Coach Helder below:
I keep other items in my travel bug out bag I consider a staple. But I’m continually testing and reviewing gear. When I find an item that works better for me, my skill sets, and the situation at hand, I upgrade my travel go-bag accordingly.
Also, having cool gear is awesome but there is a caveat: you need to know how to use it and how to use it well! Get familiar with every piece of your gear in your go-bag and you’ll be good to go.
Do you have additional insights or suggestions you’d like to share? Please feel free to leave a comment on the comments section below!
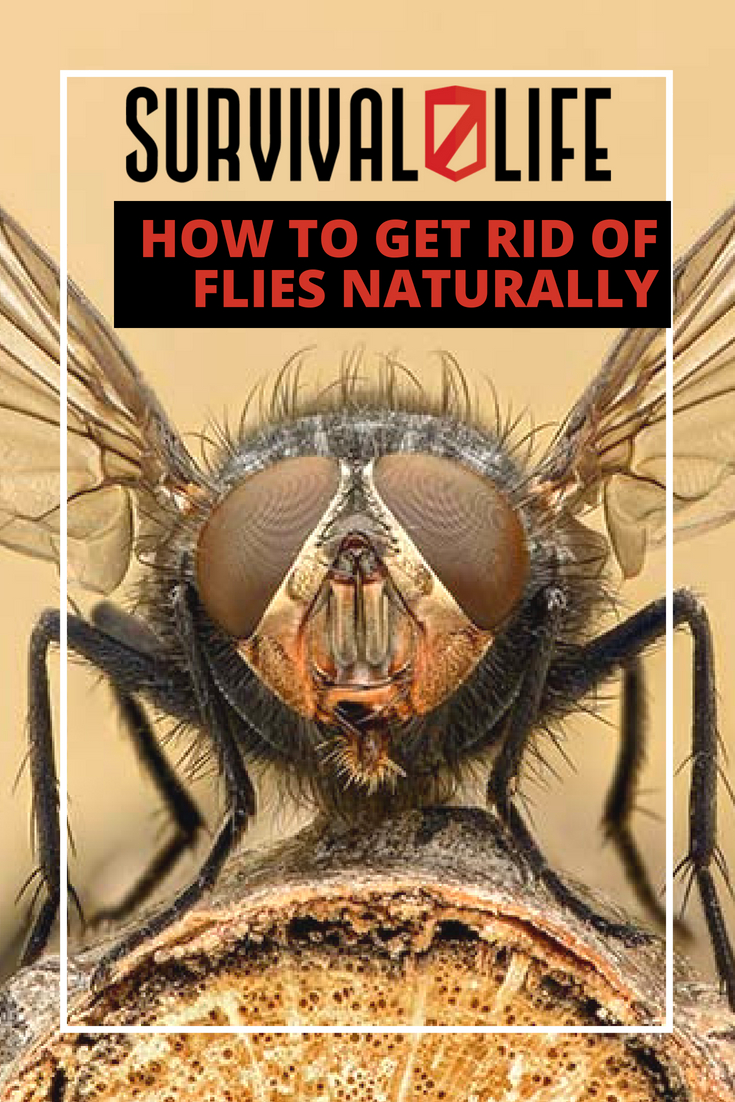
How to Get Rid of Flies | 6 Ways to Make Flies Go Away
Flies Are More Than Just Annoying
There's nothing like flies in the house-the most annoying insect in the summer months. At the end of the summer season, you probably will have waved your arms to shoo flies away at least a hundred times.
Of course, the most classic phrase “Shut the door! You’re letting the flies in!” is heard in every household across the nation all summer long. But, are they harmless?
In fact, ‘how to get rid of flies and mosquitoes', are some of the top searches online. Indication of the need to get rid of these pesky pests once and for all.
Let’s learn a little more about this seemingly harmless insect…
Why You Need to and Should Get Rid of Flies?
Did you know there are over 100,000 known species of flies? Who knows how many unknown species there really are.
Did you also know flies are carriers of deadly diseases? Flies infest meat and other food items, spreading food poisoning bacteria like salmonella enteritidis.
Because a fly is a restless insect, it moves back and forth between food and filth, and this helps it in spreading infections faster. Flies are attracted to food by their sense of smell; however, they cannot eat solid food.
When a fly reaches the food it vomits on the solid food and creates a solution of it, then sucks it which, in turn, contaminates the food.
What are some other diseases spread by flies? Here is a complete list of reasons to get rid of flies for good:
Flies can cause typhoid and paratyphoid fevers.
They can also spread some other diseases like diarrhea and dysentery, cholera, and conjunctivitis by mechanical contamination.
Other diseases carried by house flies include salmonella, anthrax, and tuberculosis.
They are also known to transmit the eggs of parasitic worms.
Sandflies found in South America, Africa, and Europe are carriers of a microorganism responsible for a disease which eats away at human skin. This disease is known as Leishmaniasis.
Why Use Natural Ways to Get Rid of Flies?
Let’s talk repellents and deterrents to get rid of flies and other insects.
As with my other articles this summer, I will share recipes for all-natural fly repellents and deterrents. They are safer for you, your family, and your pets.
Harsh chemicals can cause more harm than good. So, before you reach for a store-bought can of insect repellent spray, read the following information on how you can get rid of flies the all-natural way.
Here’s a list of all-natural recipes and tricks to get rid of flies we’ll cover in this article:
1. Vodka Based Repellent
|
For some reason, flies hate vodka. They just cannot bear its smell, which is why some people use vodka-based repellents to get rid of flies.
What You’ll Need:
1 cup of vodka
2 tsp of aloe vera juice
1 tsp of lemon eucalyptus oil
1/2 tsp of essential oil blend
Spray bottle
Instructions:
After mixing the ingredients, pour the mixture into a spray bottle. This can be applied on your skin or it can be sprayed near the infested area to repel flies.
2. Lemongrass Oil Repellent
|
Lemongrass oil has strong insect repellent properties. You can use the lemongrass oil to make a fly repellent spray that also works as a room freshener.
What You’ll Need:
20-25 drops of lemongrass essential oil
½ cup of hot water
Spray bottle
Instructions:
After mixing ingredients together, pour into a spray bottle. Spray it along your doorways, windows, or any other fly-infested area.
Note: In absence of lemongrass oil, you can also use other essential oils such as lavender oil, citronella oil, eucalyptus oil, pennyroyal oil, or peppermint oil. With these essential oils, however, you won’t achieve the same results you would get with lemongrass oil.
Cloves are pleasurably aromatic for humans, but flies (particularly house flies) cannot stand the scent of cloves. Here's a recipe to keep flies away using cloves.
What You’ll Need:
1 lemon
6 to 12 cloves
Plate
Instructions:
To make this deterrent, take a lemon and cut it into two halves. Poke 6-12 cloves into each half of the lemon.
Place on a plate and place in places you want to deter flies. Great for outdoor activities!
Cut a 1 cm diameter hole at the apex of the paper cone.
Place the cone in the jar upside-down (it should not touch the liquid.)
Since the jar contains sweet liquid, the flies will be attracted to it and will go down through the cone into the jar. Once inside, they won’t be able to fly up through the hole to come out, therefore they’ll be trapped inside.
6. DIY Fly Paper
|
Flypaper is coated with a sweet fragrant (and extremely sticky) substance which attracts flies. The store-bought flypaper will often have a layer of a poisonous substance above the sticky portion of the flypaper.
You can make your own flypaper at home without the poisonous layer. Here’s how.
What You’ll Need:
Sheets of brown paper or thin cards
Scissors
Saucepan
A large-sized spoon for stirring
Corn syrup
Water
Instructions:
Cut the brown paper sheets into 2 inch wide strips.
Measure equal parts of corn syrup and water and pour into a saucepan and heat the mixture until it starts to boil.
Constantly stir the mixture with the spoon while heating until it slightly thickens.
After this, remove the pan from the heat and soak the strips in the mixture for at least 4 – 5 hours.
Take out the strips and allow them to dry for 2-3 hours.
When the strips are completely dry, hang them in the fly-infested area and your homemade flypaper is ready to catch flies.
Watch this video from Household Hacker for another step-by-step guide to making another fly trap to help get rid of flies:
When the fly season is on, they are practically everywhere. Unfortunately, one way to get rid of flies may be effective for a while but then there always seem to be another batch to take over.
Try a couple or more of these tricks to see which one works best. So far, the sugar water flytrap and flypaper are effective for me, especially outdoors.
Which of these ways on how to get rid of flies are you eyeing on to make soon? Tell us your thoughts about it in the comments section below!
I’ve had a lot of fun making DIY stoves for camping trips and bug out bags. Homemade camp stoves are way cheaper than store-bought ones, and they’re usually lighter and much more portable. That’s why I recommend everyone try making a stove a two.
Recently, I came across a very simple portable stove on the Youtube channel, Creative Etc. I’m positive that anyone — even people who are terrible at DIY projects — can make this stove. Here’s how to do it.
Step 1 – Gather your supplies. You’ll need a small paint can (like the one in the picture below), a hammer and nail, four zip ties, four long metal rods or screws (like these) that you can use for the stand, and some denatured alcohol.
Step 2 – Make sure the paint can is completely cleaned out. Then, take your hammer and nail and use them to make tiny holes in the lip at the top of the can. The holes should be 1 – 2 centimeters apart and you should end up with 20 – 30 in all, depending on the size of the can.
Step 3 – Using a pair of pliers, bend the metal rods or screws into the shape in the picture below. These will be used for the stand that holds the pot or pan above the flame.
Step 4 – Use the four zip ties to attach the four rods or screws to each other in order to create a stand like in the picture below. Cut off the unused parts of the zip ties.
Step 5 – Fill the can most of the way with denatured alcohol.
Step 6 – Now put the lid back on the can and pour a tiny bit of denatured alcohol into it.
Step 7 – Using a lighter, light the alcohol in the lid, then place the stand over it. Now you are ready to start cooking!
Watch the video below to see this DIY stove get built.
You May Also Like:
This article first appeared on urbansurvivalsite.com See it here
Although DIY’n is a common practice in this era, it still may be surprising to some that creating your own ethanol source using just a few basic ingredients can be done very easily and by anyone. Why would anyone go through the trouble to create their own gas in the first place? For starters, it can save you a pretty penny on your fuel bill at home. Then there is always an advantage to being prepared in the occurrence of a natural disaster. Most ethanol producers use it to fuel their vehicles, lawn mowers, gas powered generators and even power tools. Although it might not be something you need to do daily, it’s not a bad skill to acquire.
First things first, keep it legal. In order to build your own fuel source you will need to have a permit from the Bureau of Alcohol, Tobacco and Firearms. This permit is called a “Fuel Plant Permit” and is necessary no matter how much gas you plan to produce or how you intend to use it. Without the permit, it is a criminal offense to produce ethanol out of your home. Don’t say we didn’t warn you.
Now that we have warned you about the legalities, safety is next. For obvious reasons you’ll need to use some common sense and precautions when producing ethanol. When using your DIY gas for your car and other home needs, it’s imperative that you know what the fuel system is made out of. Ethanol is highly corrosive to plastic and aluminum so it needs to be mixed with gasoline, about 85% ethanol to 15% gasoline. Be sure to read up on the manufacturer guidelines before using your own ethanol in any fuel system to decrease the chances of destroying it completely.
Ethanol production is a natural process. It actually comes about through the fermentation of carbohydrates. There are several recipes for it, but let’s just assume that you don’t have your own crops to work with. Now let’s get to the directions. You will need the following:
(1) 20 gallon plastic barrel with a lid
(1) 10 ounce packet of brewer yeast or distiller yeast
(1) stirring paddle
(40) pounds of sugar
(1) still
Mix it
You will need to melt the sugar in hot water (about 100 degrees fahrenheit). Fill up your barrel about halfway with water and then add sugar in 8-10 lbs at a time. This allows it to melt and stir easier. After the sugar is pretty much broken down you can fill the remainder of the barrel with more hot water. You will mix the yeast in once the temperature is somewhere between 80-90 degrees. Place the lid on loosely to allow the fermentation process to occur. Set the barrel aside in a place that is about 70 degrees consistently.
Leave it
The fermentation process will naturally happen over a week or so. The yeast is eating up the sugar and producing waste in the form of carbon dioxide and alcohol. You will see bubbles coming out of the mixture, this is good. Keep that lid on loosely to avoid too much pressure causing the barrel to explode. Once the bubbles stop forming, fermentation is complete.
Filter it
You will need to filter the ethanol that will most likely carry dead bugs, debris and dead yeast.
Distill it
The remaining mixture is that of dead yeast, water, and ethanol. To get the ethanol out of this mixture, you need to use a still. The distilled version of your solution should get you around a 3:1 ratio of original solution to finished ethanol.
Dehydrate it
At this point your ethanol may still have some water inside of it. In order to remove it, you need to use a unique fuel filter that can filter the water out. These filters are made out of specific fabrics that allow ethanol molecules to pass through while keeping the water out.
And there you are. Do it yourself ethanol for your car and other home needs. You’re welcome for the lighter fuel costs.
Protect Yourself from the Smallest Yet Most Dangerous Animal in the World
Mosquitoes may be tiny, but no animal or insect is as notorious as this bug. It may well be the deadliest in the world.
Malaria, Zika, and dengue virus are only some of the deadliest diseases contracted simply from a mosquito bite. It is more important than ever to protect yourself and your family against mosquitoes.
I can’t stress this enough! In my neck of the woods (Texas), mosquitoes are extremely bad this year.
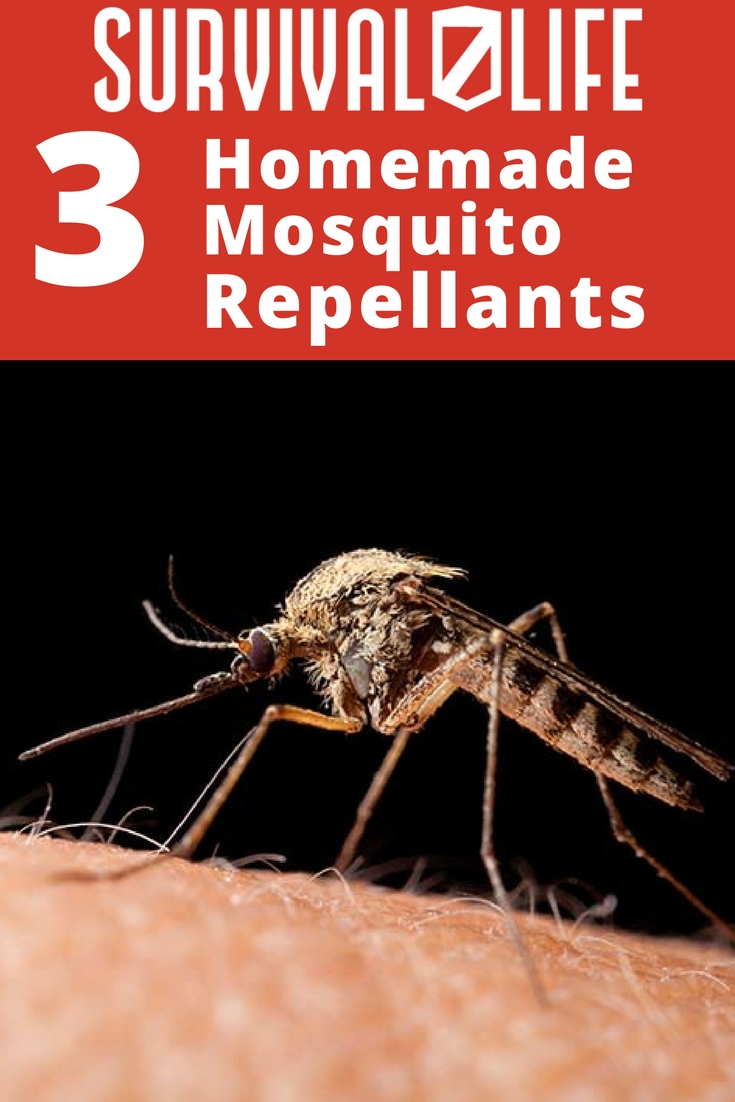
In this article, I’ll share with you three extremely effective homemade mosquito repellents safe for you and your family – ALL NATURAL. NO HARSH CHEMICALS!
How to Make All-Natural Homemade Mosquito Spray Repellents
So, it is really logical to either be odorless or mask our scent. Yet, they are also attracted to certain perfume and cologne scent.
Besides, most perfumes and colognes contain ingredients which may also be harmful in the long run. Therefore, natural and essentials oils remain the best solution to masking our odor.
Here are the best natural mosquito repellent recipes, plus a guide to essential oils combination:
Homemade Mosquito Repellent Recipe #1
What You’ll Need:
4oz spray bottle
2oz of witch hazel
2oz of distilled water
Essential Oil (20-25 drops for ages three and up) (40-50 drops for ages 10 and up)
Add all ingredients to the spray bottle; shake well and apply as needed. Shake well before each application, though and avoid spraying on your face.
If you get any of this repellent on your hands, make sure to avoid touching your eyes and mouth. For ages under two, spray on their clothes ONLY.
Essential Oil Combinations Safe for Ages 3 and Up:
Add all the ingredients, then put in a spray bottle and shake well. Spray your skin and clothes generously, avoiding your face.
If you have a mosquito spray repellent recipe you would like to share with us, please share in the comment section below!
Watch this video from Dr. SimpleHack to make a homemade mosquito killer trap from cardboards:
Besides being annoying, mosquitoes are certified dangerous. Sadly, there is no one solution to a mosquito problem.
Even with these homemade mosquito repellents you still need to keep your surroundings clean and maintain good hygiene. At the very least, these homemade mosquito repellents will help you ward off mosquitoes the safe and natural way.
Which of these homemade mosquito repellents would you make? Tell us your plans for it in the comments section below!
|
It is truly fascinating how the native learned without the tools we deem necessary today. The skills and knowledge of these fearless hunters and survival experts survived many centuries.
Native American skills and crafts endured by passing down what they learned from one generation to the other through storytelling. For those who want to learn more today, you can do so by browsing the web at the comfort of your home.
|
The Native American stealth techniques are as remarkable as the legendary Ninja techniques. Only more practical and applicable in today's survival training.
Practice the art of walking barefoot or with moccasins. Land on your heel first, then slowly roll the outside of your foot followed by the balls of your feet.
That is the Native American walking style which lessens the footprint noise Native Americans make. It is also one of the must-learn Native American hunting techniques.
When they go hunting, even wildlife have difficulty hearing their footsteps.
Our way of life has improved in leaps and bounds because of what modern technology has to offer. Yet, learning these Native American survival skills can mean your survival.
Once you master these skills, it can help you survive a disaster or emergency situation.
5. Be Resourceful
|
Invaders considered the self-sufficient living techniques of the Native Americans primitive. Yet, survivalists, these days, try to emulate these skills and practice them on a regular basis.
The ability of the Native Americans in coming up with ideas using only what was available around is impressive. Whatever the challenge they faced and seasons they were going through they continued to thrive.
One reason why they were such fearless fighters was their mastery of the weapons they used. From the stone club, bow and arrow, to the atlatl, they just had so much in them including various striking techniques which go along with it.
What Is Atlatl? Also known as a spear thrower, it is a tool with a socket or handles at the end to throw a dart or pointed object.
|
Learning some Native American tracking techniques will help you not only hunt for food but avoid dangerous wild animals, too. Having the ability to identify animal tracks will help you hunt down your next meal.
Even so in the shortest time possible instead of waiting for the game to come to you. It can also increase your chances of survival in the wild by being able to avoid dangerous animals.
Watch this Native American Scout Training posted by TheRoughTV:
Having the skill sets practiced by the Native Americans will prove to be an invaluable tool to survive any emergency or disaster.
Like them, you will be self-reliant and innovative enough to withstand any force of nature or man-made disaster which will come your way.
What do you think are the most essential set of Native American survival skills a modern survivalist need to master? Share your thoughts about it in the comments section below!