I fell in love with these adorable faces when I saw them on the internet a couple years ago. I made one for myself and put it on my porch. I could not believe how many people would stop and ask where I got it! Get two decorations in one with this wooden Scarecrow & Snowman from the link below…
In wilderness or survival situations having a wide range of survival skills is imperative to meet the many challenges that different situations demand. One important skill to have is knowing how to make a Smokeless Dakota Fire Hole. These types of fire pits are especially useful in especially harsh conditions such as very high winds or when you just need to lay low for a while and maintain a stealthy camping style. The following article by Alfie Aesthetics explains in detail just how to build the Dakota Fire Hole.
Finding True North: Navigate Outdoors Without a Compass
1. Shadow-Tip Method
There are three essential components in using a stick to act as a true north compass: the sun, a stick, and the stick's shadow.
Place a stick upright on leveled ground where it can cast a shadow.
Mark the tip of the shadow and wait for about 10-15 mins. until the shadow changes its position. When it does, mark the second shadow.
Stand on the first mark with your left foot and the second mark on with your right. Doing this would make you stand in front of the true north.
2. Stars in the Northern Hemisphere
Looking at the stars in the northern hemisphere is one of the best ways on how to find true north without a compass. This is a good method to use when the stars are shining brightly in the clear night skies. Locate the Big Dipper constellation and draw an imaginary line on its two outer stars.
In sky lore, these two stars are called Dubhe and Merak. The line points to Polaris which is the last star in the Little Dipper constellation. Now that you found Polaris, just draw an imaginary line downward and that is where the true north is.
3. Stars in the Southern Hemisphere
If you're in the Southern Hemisphere, the North Star will not be visible. Hence, you must look for the Little Dipper instead.
Look for the Southern Cross, which is composed of five stars and is angled on one side.
Put five imaginary lines as big as the longest axis of the Southern Cross in front of its angled side.
From there, draw another imaginary line downward — this points toward the true south. Thus, this makes the opposite direction the true north.
4. Stars in the Equator
In this method, you'll be using Orion's Belt to navigate. It runs from east to west, so you can project a line from these directions. Projecting another line starting from the middle star of the belt downward will point you to the true north.
Hold your watch horizontally and make sure the hour hand points at the sun. Bisect that angle you see between your watch's hour hand and the 12 o'clock — this angle is the north-south line.
In the Northern Hemisphere, the sun is in the south when it's midday, so opposite of it will be where north is. If, on the other hand, you follow daylight saving time, then bisect it with the 1 o'clock instead of 12.
6. A Watch in the Southern Hemisphere
When you're in the Southern Hemisphere, point the 12 o'clock at the sun or 1 o'clock if it's on daylight saving time. Bisect a line from the hour hand and the one pointed at the sun, which makes your north-south line. Since you're in the Southern Hemisphere, the sun is due north at midday, leading you to where the true north is.
7. Sun's Direction
Knowing where the sun is positioned will help you find where the true north is. Technically, the sun rises in the east and sets in the west.
So by early morning, watch where the sun rises. The true north will be a quarter turn counterclockwise from that direction. On the other hand, if you see the sunset, which is the west direction, the north is roughly a quarter turn clockwise from that direction.
Download or reference this infographic for future reference.
Of course, finding the true north is simpler if you have a compass, so it's best to always keep one in your bug out bag. But in cases when there's none, learning the above-mentioned ways can help you out in finding your way back. I've tried the shadow-tip method and it worked perfectly. The downside, though, is you need to have sunlight to be able to use this method so it will be hard to rely on this one after sunset.
Do you know other ways to find true north without a compass? Share them in the comments section below!
For the best bug out bag backpack, I recommend having an external aluminum frame pack or a larger hiking backpack. School backpacks aren't quite big enough. A frame pack has the weight of the frame, but you can attach items such as a sleeping bag or a shotgun or rifle. I prefer to carry handguns in a belt holster.
Hiking backpacks can often be found used in larger thrift shops like Value Village or the Goodwill. School backpacks will work in a pinch, but they will be full with some larger items. Also, a normal backpack may not fit all of your bug out bag essentials while remaining comfortable for constant use without needing modifications.
Food and Water Resource
My bug out bag checklist is based on the premise of obtaining food and water en route. Some food and water need to be carried, but a realistic amount to be totally self-sufficient likely requires an additional means of transport. Urban settings have food and water resources if one thinks outside the box. I list the means to cook and boil water on the assumption that food can be obtained in this part of the world fairly easily. Rural or natural settings have many potential sources of calories, and water can usually be found.
Camping Gear Alternatives
Crushed charcoal in a bandana makes a makeshift filter that should remove most undesirable elements not killed by boiling or water purification tabs. I realized that emergency/camping food and fancy means of purifying water are out there, but I prefer to stick to basic methods without parts to break down.
I also lack the funds to buy items such as purifying pump and so I'm forced to look at other means. The fishing kit can be swapped out for a collapsing pole if desired, but a fishing kit gives you the ability to rig up multiple lines for more opportunities for food. You can use an actual pole, but it should be light and compact if you go that route.
Weight is the key issue. I have hunted up steep hillsides in Eastern Washington and the ability to refill water and food on the go would be on the top of my bug out bag checklist if I had to go cross-country on foot.
It's simply impossible to carry enough water, for more than maybe a day, without breaking your back. I recommend the total load, except for a firearm if carried separately, should not exceed 30-35 pounds. I'd aim for 25-30 pounds, if possible.
Possible Targets for Scavenging
If the items are no longer in use or are not anymore needed by the previous owner, they are fair targets for scavenging. I will not hurt a person for the purpose of gaining an item, but I have no problem acquiring an unused item to ensure my own survival so long as no one else unnecessarily gets hurt. Theft, maybe, but in a survival situation, many rules of ‘civilized' living no longer apply. Calling it borrowing if it makes you feel better.
I will not purposely hurt others, but I will act to ensure my own survival by whatever actions that require. In the normal world, I am an ethically conservative person who is very professional. These values don't disappear but rather get modified in the event of a survival situation. Many preppers and survivalists think you have to be the lone wolf or the general store without any middle ground. A good balance lies somewhere in between where a person looks out for his or her own interests while still supporting a community setting when appropriate.
The Ultimate Bug Out Bag Checklist
Fire
• Fire Kit
• metal match (flint stick)
• wooden or paper matches
• lighter
• magnesium bar
How to start a fire with flint:
Water
• Water bottle – metal, preferably steel
• Purification tablets
• Water purification pump, if within budget
Shelter/Clothing
• Space blanket
• Tarp – green or brown, fairly easy to find
• 50-100 feet of cordage – heavy twine will work
• Poncho – emergency ones are at every sporting goods store, better ones will cost more
• Wool socks – 2 pairs (one to wear and one to rinse and dry)
• 2-3 bandanas
• Gloves – leather or wool preferred
• Change of underthings
• Carabiners – lightweight, hanging things, can be skipped if not found
Navigation/Signaling/Communication
• Compass
• Flagging Tape
• Whistle
• Binoculars
• Radio and batteries
Light:
• Small LED flashlight and batteries
• LED headlamp and batteries
Food/Cooking
• Esbit stove and fuel tabs
• Small cook pot (lightweight) and mess kit including a set of silverware
• Handled metal cup
• (Inside cup) Plastic jar or Ziploc bag with tea, bouillion, and salt
• Ziploc bags and folded aluminum foil
• Sierra cup
• Travel rations of choice (rice, jerky, granola, etc.)
Tools/Weapons
• Multi-tool
• Hunting or larger folding knife
Miscellaneous
• Road flares (2)
• Fishing kit – hooks, 30-40 feet of line and lead weights in a pill bottle
• Dental floss
• Toilet paper – in a Ziploc bag
• Duct tape
• First Aid kit – basic, include doses of critical meds
• Sleeping bag – with a carry bag or strapped to frame pack
• Fleece top – pull-over or zipped both works well
• Winter coat with hood
• Extra water bottle
Watch this video about what goes in a bug out bag by Blade HQ:
We covered the basic survival needs of food, water, fire, defense, and shelter, but we prefer to carry knowledge and skills rather than a bunch of high-tech gear. Fancy gear is great, but it costs money and can get heavy quickly. Most gear can be improvised or scavenged if needed. As the first thing you grab in an emergency, this resource can be hugely beneficial if you know what you're doing. A good packing list is critical to ensuring the quality of your bug out bag and your preparedness as a whole.
Care to share about your best bug out bag practices? Share them with us in the comments section below!
Private firefighters provided by American International Group (AIG) safeguard the mansions of 42% of Forbes’ list of the 400 richest Americans.
Average Americans ended up burning to death in the California wildfires while private firefighters protected the empty mansions of the rich.
For example, private firefighters saved Kim Kardashian and Kanye West’s $60 million mansion in Hidden Hills, California last week. Notably, Kim and Kanye were not even home when private firefighters saved their mansion. The couple is safe in another luxury residence, Motherboard reports.
The firefighters work for Kardashian’s insurance company. NBC states that private firefighters are a fringe benefit in many rich homeowners’ insurance policies.
Private Firefighters Will Protect Mansions For A Hefty Price
In fact, private firefighters provided by American International Group (AIG) safeguard the mansions of 42% of Forbes’ list of the 400 richest Americans.
AIG’s Private Clients Group offers firefighters’ services to policyholders, Stephen Poux tells NBC. However, AIG clients have to pay “several thousand dollars to several tens-of-thousands” of dollars in extra premiums to get the service. Particularly, Poux is the head of risk management at AIG’s Private Clients Group.
As a matter of fact, AIG is the insurance company the federal government bailed out for $182 billion in 2009. Furthermore, AIG nearly collapsed during the financial crisis of 2008 because of questionable loans made by its management.
Insurance Companies Hire Private Firefighters To Protect Mansions
AIG is one of several insurers that offer firefighters to wealthy policyholders, NBC reveals.
For instance, Chubb Limited operates its own unit of private firefighters called Wildfire Defense Services (WDS). The WDS will protect your house if you insure it for more than $1 million.
Specifically, a WDS crew saved Fred Giuffrida’s 16-acre ranch in Sonoma, California, during a fire last October. Amazingly, state firefighters did not realize that WDS was on the job. Instead, Cal Fire only learned about WDS’s presence from a phone call, NBC claims.
Under these circumstances, government firefighters could end up risking their lives to save private firefighters. If private firefighters get trapped by a blaze, first responders or the military will have to rescue them.
Fire’s Death Toll Unknown Despite Private Firefighters
Meanwhile, authorities are still searching for victims of Northern California’s Camp Fire. The Camp Fire destroyed over 10,500 homes and killed at least 77 people in Butte County, California. Also, the overall area that the fire has affected is about the size of the city of Chicago.
Most of the Camp Fire’s victims were working-class and elderly people unable to evacuate. The Associated Press reports that the Camp Fire death toll will grow because crews are still searching for bodies.
Moreover, a list of missing people in Butte County includes approximately 1,300 names. Notwithstanding, authorities cannot yet tell if those people are dead or still missing, Sheriff Kory Honea admits.
Private Firefighters Prove That The Government Cannot Protect You
The existence of private firefighters proves that most Americans cannot rely on the government in disasters.
Rich people and insurance companies hire private firefighters because they know the government will not protect their property and lives. In addition, the government is probably not even competent enough to do so. The majority of Americans need to learn the same lesson if they want to survive.
In survival situations, do you know how to make hardtack? Check out this modern hardtack recipe video tutorial below!
DIY Survival Food: How to Make Hardtack
How Long Does Hardtack Last?
Hardtack, aka ship biscuit, is called so because it is hard. Hardtack history dates all the way back to more than a hundred years ago. These were found in the civil war rations; merchant ships had these long ago when traveling overseas. They would take these because hardtack doesn't go rotten. They have these in museums, and although the civil war hardtack pieces are 150 years old, they're still edible.
We make these and we store them in our food supply. We're trying to work out a one-year food supply in case of a disaster or emergency. When you think about it, if something bad happened in the world, how long do you think the food at the grocery store will last? Maybe one or two days at the most.
If you don't have food at your property or if you don't have the ability to grow it, you don't have the seeds, you're not raising chickens, or have food storage, you are going to get hungry and starve to death. So, we're trying to be prepared for any kind of disaster.
What you'll need to make hardtack biscuits:
Flour
Water
Rolling pin
Mixing bowl
Knife/pizza cutter
Salt
Fork
An oven, of course
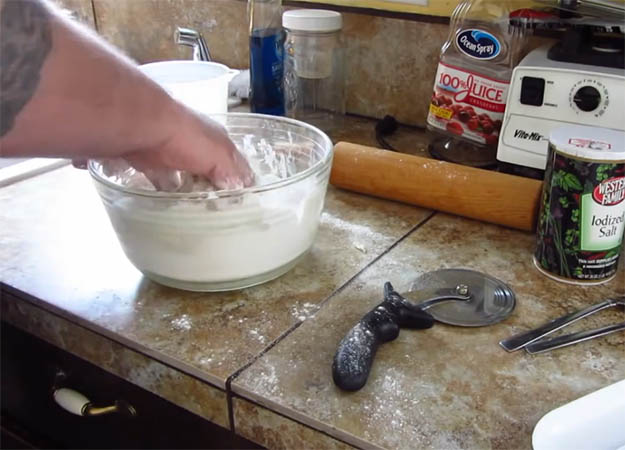
Step 1: Prepare the Dough
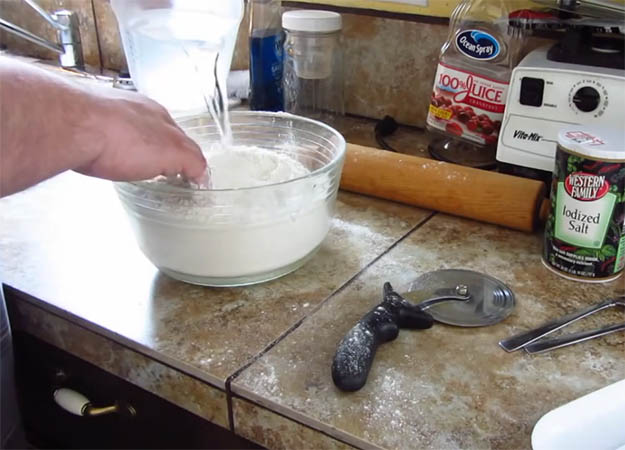
Put some flour into the mixing bowl, filling it about halfway.
Add water.
Then some salt to help in dehydrating and drying.
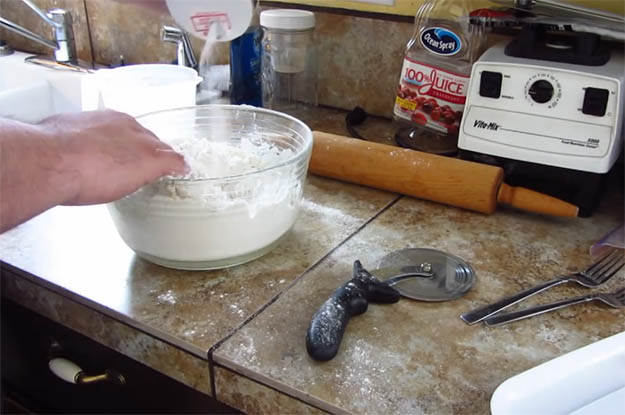
Mix them all together. When it becomes really sticky, add a little more flour,then start kneading it.
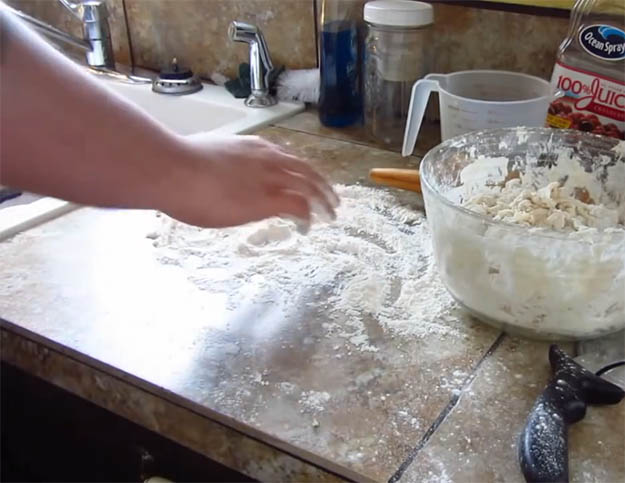
Spread some flour on the countertop.
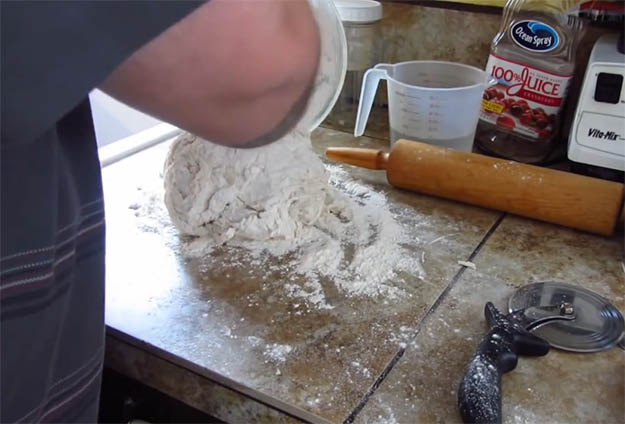
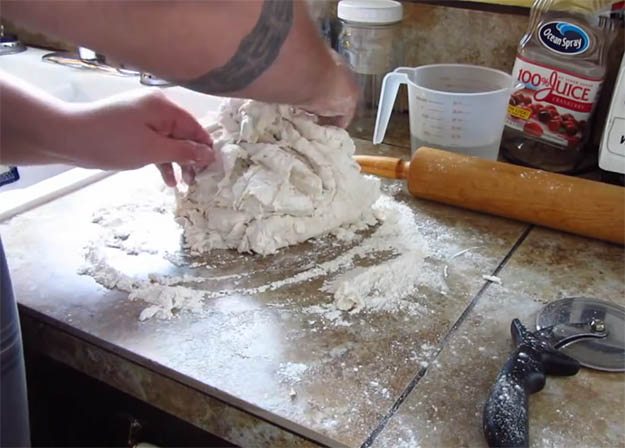
Take your dough and knead it together.
Fold, press, repeat, until the ingredients are all mixed in well.
Step 2: Flatten the Dough
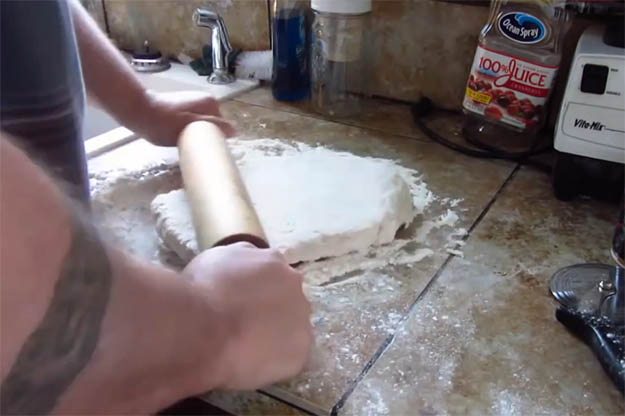
Take the rolling pin and roll it out until you get the thickness you want.
Step 3: Put Holes in the Dough
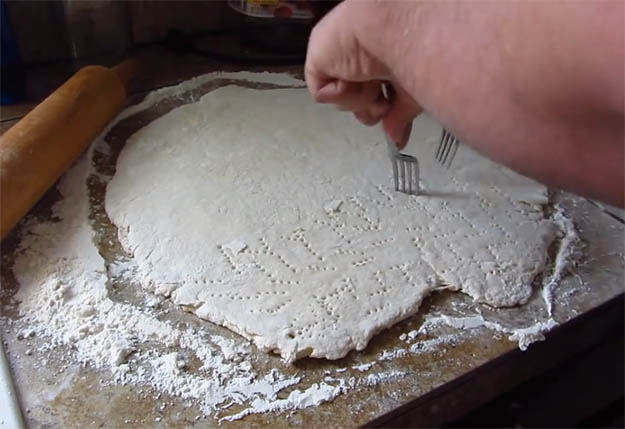
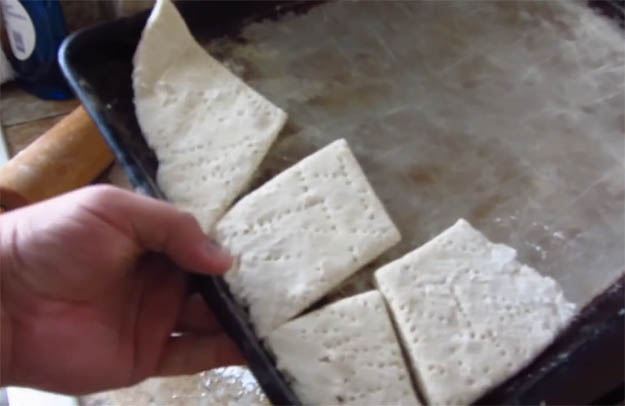
When you get the preferred thickness, put holes in the dough using the fork. This is to release the moisture and pop any air bubbles.
Step 4: Cut Into Shapes
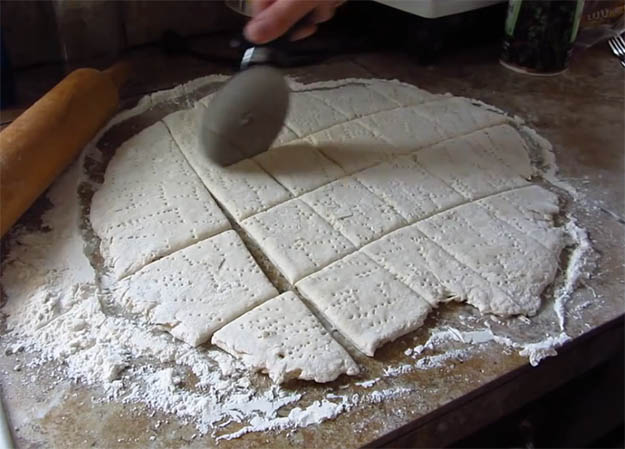
Take your pizza cutter and slice the dough into rectangles or whatever shape you prefer.
Step 5: Start Baking
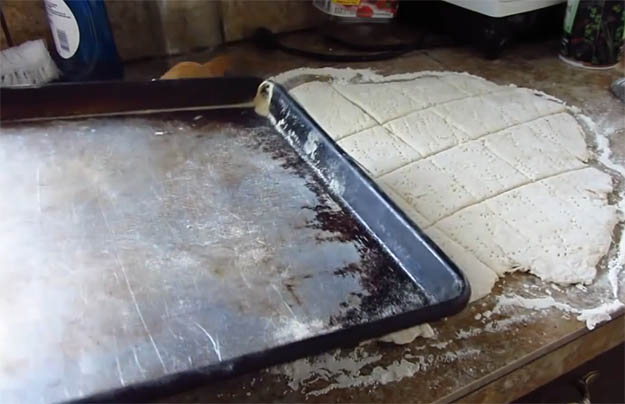
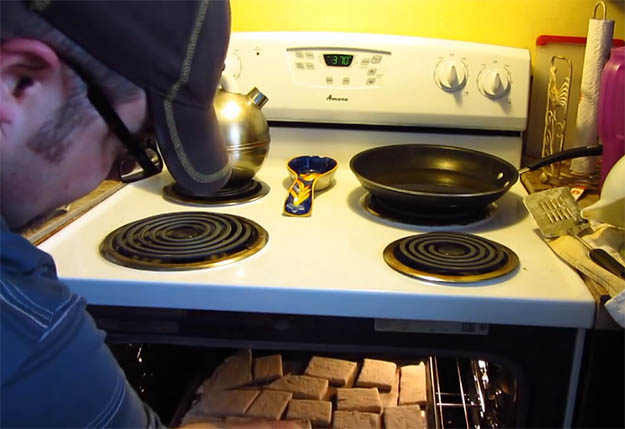
Put them on a cookie sheet. Make sure the cookie sheet is clean and oil-free.
You don't have to keep the pieces far apart since they will not rise.
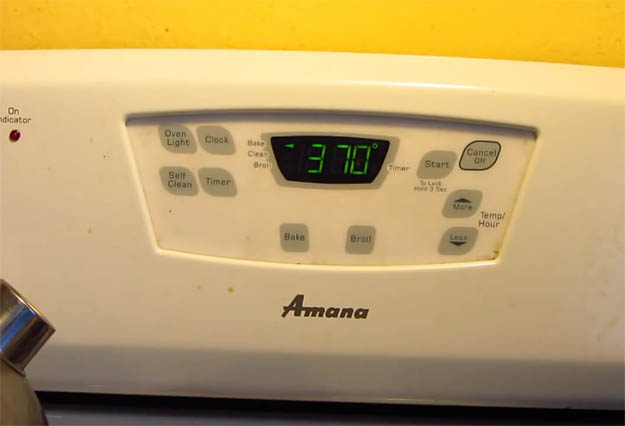
Heat your oven to 370°F. Set the timer to 28 minutes.
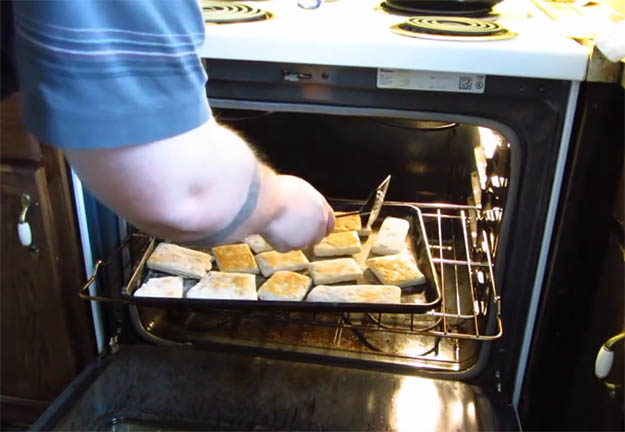
When the time is up, open the oven slide the sheet out a little bit.
Flip them over and bake for another 28 minutes.
How to Eat Hardtack
To eat your hardtack, soak them in milk for about 15 minutes. Water can also work as a softener.
Check out this video from Carl & Jinger Family for the step-by-step guide on how to make hardtack:
As you can see, making hardtack on your own isn't so hard. Nothing should stop you from preparing for your emergency food supply in case SHTF. Do know there are other hardtack recipe variations. Our very own ‘Above Average' Joe also wrote a post about hardtack. Check it out here.
For awesome survival gear you can’t make at home, check out the Survival Life Store!
Do you have a favorite hardtack recipe? Share it with us in the comments!
If you are brand new to prepping and want to start stockpiling food, it can be very difficult to get started. They say you should store what you eat, but what if most of what you eat is fast food, frozen meals, and other foods that have to be kept in the refrigerator? Won’t that be a problem if the power goes out?
That is just one of the many overwhelming thoughts that new preppers have to deal with. They have to find foods that are affordable, have a long shelf life, and won’t be too difficult to cook in a grid-down scenario. It’s easier said than done if you’ve never thought about it before.
In my opinion, a good way to get started is to simply copy what someone else has done. Get two weeks of food in your pantry ASAP (because you never know when a disaster will strike), and later you can start tweaking your food supply to better fit your family‘s needs.
City Prepping came up with a list of two week’s worth of food, and I think new preppers who don’t know where to begin should follow his example. The foods are easy to cook, easy to store, and provide plenty of nutrition.
Watch the video below to find out why he chose these particular foods along with some additional considerations and how to go beyond two weeks of food.
This article first appeared on urbansurvivalsite.com See it here