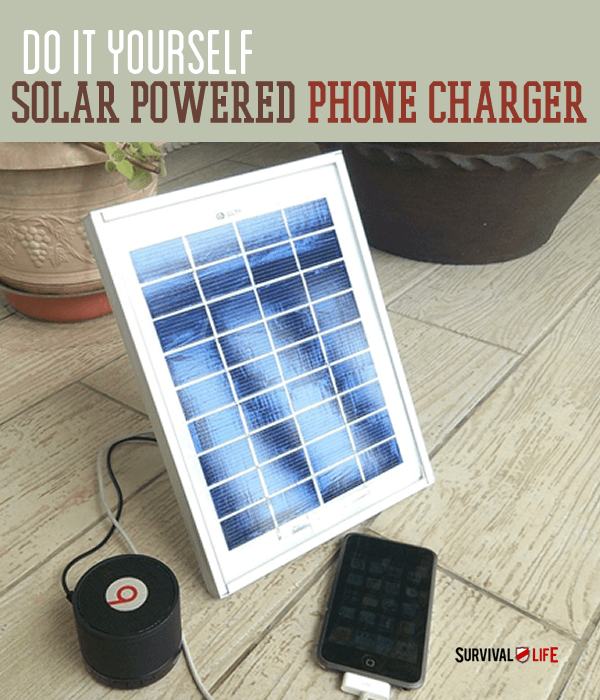
The following post DIY Solar-Powered Cellphone Charger was originally published to http://totalsurvival.net
Know how to make a DIY solar-powered cell phone charger here, so you'll still have communication in emergency situations.
Steps to Create a DIY Solar-Powered Phone Charger
The Importance of Cell Phones
Cell phones are one of the modern conveniences we rely on the most. The average person will be completely lost if forced to live without their phone for a day, much less for a longer span of time.
You can be left without electricity for an extended amount of time for multiple reasons. Blackouts, fallen power lines, being in a survival situation, or just going on a camping trip can leave you an outlet short to juice up your technology.
Quickly, your phone battery is drained, and your device becomes useless. We have a solution to this problem, and it comes in the form of a portable, rechargeable, DIY solar-powered cell phone charger. Check out the following steps for the homemade solar power system.
Step 1: Gather the Materials
You'll need the following materials to make this DIY solar-powered phone charger:
- superglue
- a short length of stranded wire
- multitool
- micro USB cable with a stripped end
- 7805 regulator chip
- 4-port USB hub
- USB power bank
- solar panel
Step 2: Solder and Mount the Regulator
The regulator plays an important role in this solar phone charger as it charges the power bank. It also prevents damage to the power bank's internal due to overvoltage.
Using solder, join the USB plug with the regulator and then join two stranded wires on the regulator for your solar panel (+ and -). Apply a small amount of superglue to set up the regulator in the terminal block of the solar panel. If necessary, trim the regulator's heat-sink mount. Join the other end of the two stranded wires to the solar panel using solder again.
Step 3: Mount the Remaining Devices
In this step, you'll need to mount the remaining devices to complete the DIY solar power system. You can use a strong double-sided adhesive to fix the USB hub and power bank behind the solar panel. In case you want to mount the devices permanently, it's best to use epoxy or hot glue to let them stay still.
Set up the power bank and attach the solar panel's charging cable to the power bank's charge input. Plug the USB hub to the power bank's output. You can then start charging by plugging in your phone to the USB hub. You can check here for the full DIY steps.
Through this DIY solar-powered phone charger, your communication to everyone won't be interrupted. This can save your life if you're in a survival situation and you want to ask for help using your phone. So, build your own solar power system now and get ready for the big outdoor fun!
Have you tried creating your own solar-powered phone charger? What other tips or ways can you share with us to make this creation more fun and useful? Drop your tips in the comments section!
Up Next: Homesteading And Sustainability: How To Become Self Reliant

Editor’s Note – This post was originally published on April 9, 2014, and has been updated for quality and relevancy.
This Article Was First Found at survivallife.com Read The Original Article HereArticle Source Here: DIY Solar-Powered Cellphone Charger
No comments:
Post a Comment