The following post How to Make Bannock, A Healthy and Delicious Survival Food Read more on: http://totalsurvival.net/


Why is it that so many survival foods come from a time long forgotten? Some of the most well-known survival foods are so old, it’s hard to even peg their origin. They are often so effective that people of different nations figured out similar foods along their way.
The reason for this is simple. Every good survival food must have five certain features:
1. Minimal Ingredients
Survival foods should have very few ingredients. The fewer things that go into it, the fewer things that can spoil (and usually, the easier it is to make). Also, you can replicate these foods more easily if there are fewer ingredients.
2. Long Shelf Life
Probably the most important part of all of these features is the shelf life. What good is a “survival food” if you only have a week to eat it? We are looking for things that can stand the test of time, outside of refrigeration.
3. Non-Perishable
Since we are so concerned with shelf life, it’s important that survival foods be nonperishable food items. In other words, things like fresh fruits, vegetables, or meats are not great options because of how quick they spoil. These foods would be called perishable.
Survival foods should be foods that have a great shelf life, and these are called nonperishable.
4. Calorie and/or Nutrient Dense
While survival foods don’t always have to be the most healthful foods in our pantry, we do want them to be dense. Some are nutrient dense, like pemmican, which packs the punch of meat and healthy fats. Others, like bannock, are going to pack a serious calorie punch. Our recipe will add other things like cherries and rosemary.
5. Edible
We have to be able to stomach the survival food, otherwise, what’s the point? If we cannot bring ourselves to eat it, there is really no point in having it on hand. Some foods, like hardtack, can be questionable when it comes to being edible. For those of you who have tried it, you know what I mean.
Bannock Recipe
Bannock was created both in Europe and North America. A similar version was made by the Native Americans using corn. We are going to focus on traditional bannock, which has Scottish roots.
This survival food has always reminded me of hardtack. It’s certainly more of a bread than the unleavened tiles of hardtack, but they can be similar in some sense. I love this food because it’s very easy to make and takes very few ingredients. It can also be produced on the go, but we will discuss that later.
In the recipe that follows, we are going to add fresh rosemary and dried cherries to make it healthier and more nutritious. These will also add flavor to an otherwise boring survival bread. The sugar-laced cherries have great staying power and add calories. The rosemary will merely dry further over time. These ingredients will not affect shelf life.
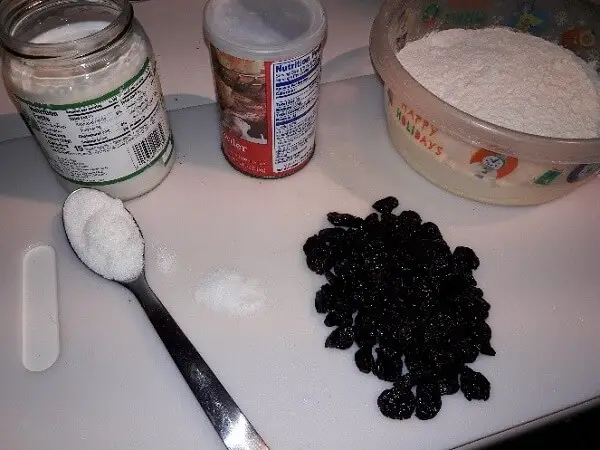
Ingredients
- 4 Cups All-Purpose Flour
- 1/2 Teaspoon Salt
- 1/2 Teaspoon Baking Soda
- 1 Tablespoon Sugar
- 1 3/4 Cup Dried Fruits (cherries)
- 1 Teaspoon Chopped Rosemary
- 1 1/2 Cups Buttermilk or Sour Milk, Reserve 1 tablespoon

Instructions
1. Preheat your oven to 300 degrees.
2. In a medium-sized bowl, combine all of your dry ingredients except for the cherries and rosemary. Thoroughly mix them together before moving to the next step.
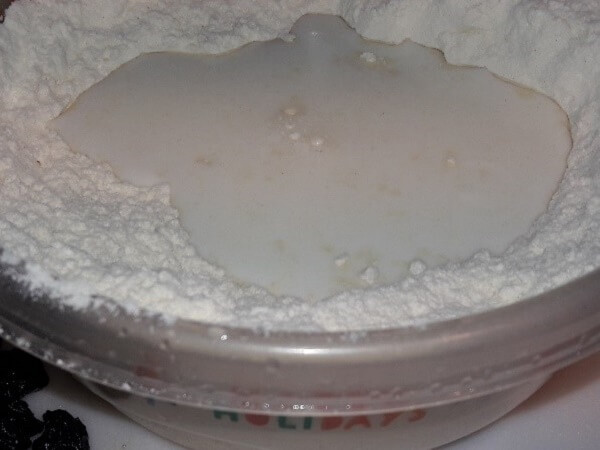
3. Now that you have a bowl full of dry ingredients make a well in the center. This will be for your buttermilk. You may not need all of the flour to create the bread, and this method will allow you to control your dough better.

4. Chop your cherries and rosemary into very fine pieces.
5. Add the buttermilk to the well and begin to slowly incorporate flour from the sides. Do not collapse the sides of the well. This allows you to keep control of the dough consistency. This technique is used in any type of dough making and is great to practice. You will have leftover flour to coat the table and to use while you knead the dough.

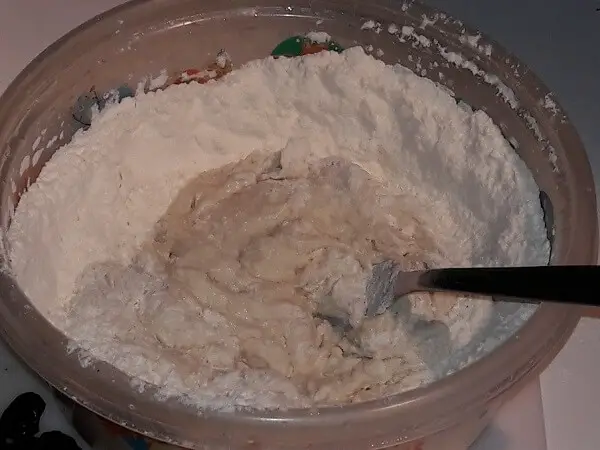
6. Once the mix becomes stodgy and pasty, you can add your rosemary and dried cherries. At this point, you are going to dump the dough out onto a floured surface.

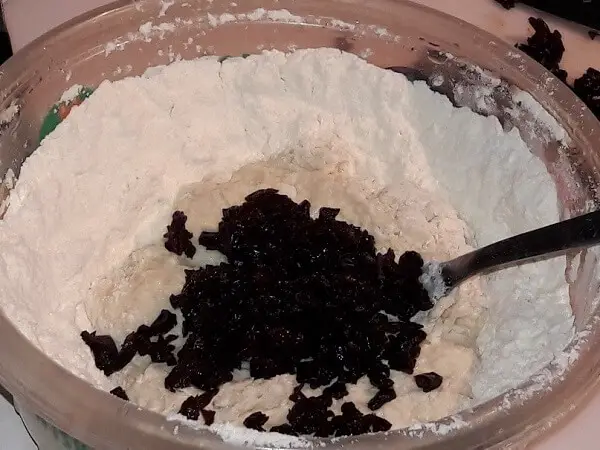
7. Work the dough and add flour until it becomes less sticky and the cherries and rosemary are fully incorporated. You will know when you have worked it enough and added enough flour because it will stop sticking to the surface.


8. At this point, you are ready to begin baking the bannock. I keep the bottom of a planter in my oven for making pizza and bread. This stone works well with the bannock as well. Bake the bannock for 20 minutes until it has started to brown a bit.

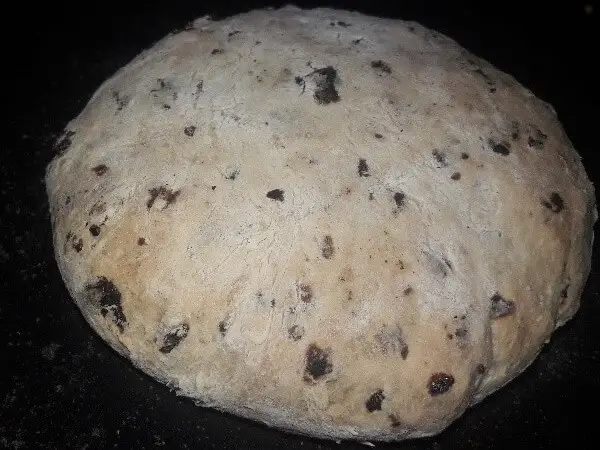
9. Remove the bannock and allow it to rest and cool.

Storage and Eating
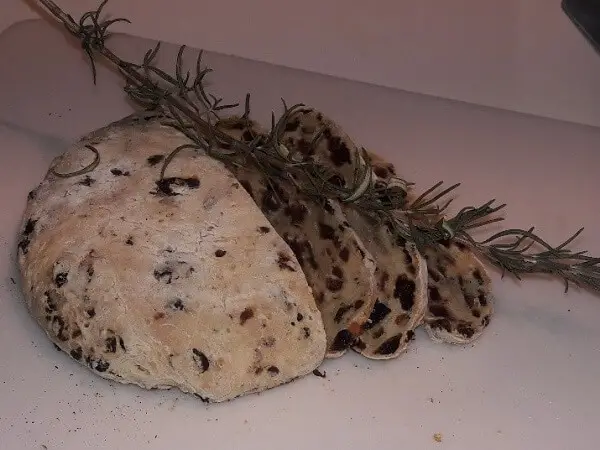
After the bannock has completely cooled, it can be sliced and served or sliced and stored. The best storage method is to keep it whole until you need it. If you leave it uncovered, it will get very hard in a couple days. It will likely last in this state best. Of course, freezing it would be the very best way to keep it for a really long time. But if you don’t have that option, keep it hard and dry.
Dip it into some coffee-like biscotti or just crunch on it. It’s bannock. It’s not a scone, but it will keep you alive, and the herbs and cherries will add all sorts of interesting nutrients and flavor to it.
Most importantly, this is the type of mix that can be made on the go. If you store your dry ingredients in a Ziploc bag and your buttermilk in another, the two can be combined to create bannock while you’re on the move. You can cook this food by wrapping the dough on sticks and holding it over a campfire.
You can cook the bannock directly on a hot rock, also. Leave it for about 3-4 minutes on one side, then flip and finish for another 3 minutes on the other side.
Because of its versatility and ability to meet all of the above-mentioned criteria for survival food, bannock is definitely something you should learn to make.
Want to prep but not sure where to begin? Sign Up for Our Newsletter and get your FREE One Year Urban Survival Plan!
 This article first appeared on urbansurvivalsite.com See it here
See Full Article Here: How to Make Bannock, A Healthy and Delicious Survival Food
No comments:
Post a Comment