How To Make Emergency Ration Bars At Home See more on: http://totalsurvival.net/


 For those who don’t know, an emergency ration bar is a food designed to keep you alive during some sort of survival scenario. Emergency ration bars have a very long shelf-life, but most importantly, they are calorically dense. Typically, one bar has several hundred calories, making them ideal for bug out bags or survival caches.
There are a couple of downsides to ration bars, though. They usually don’t taste very good, and they’re not very nutritious. In fact, you could say they are downright unhealthy since the ingredients are mostly flour, sugar, and shortening. Yes, they will keep you alive, but you probably won’t feel well.
That’s why I recommend making your own emergency ration bars at home. Yes, you can buy them on Amazon, but if you make them yourself, you can control the ingredients and ensure you’re getting everything your body needs to stay healthy. Plus, you’ll save some money.
There are many recipes out there, but my new favorite is this one I found on the Youtube channel, Prepper Logic. Unlike typical ration bars, these are actually good for you. They don’t have a lot of sugar (although they’re still sweet), they’re loaded with protein, and they taste great!
Here’s the recipe:
Dry Bowl Ingredients:
- 6 cups of oats (1800 calories)
- 2 Tbs of chia seeds (140 calories)
- 3 Tbs of hemp flour (60 calories) or almond flour (120 calories)
- 2 Tbs of fruit powder (optional)
- 6 scoops of protein powder (720 calories)
Wet Bowl Ingredients:
- 1 cup of honey (1000 calories)
- 1 cup of coconut oil (1900 calories)
- 10-12 heaping Tbs of peanut butter (1000 calories)
Instructions:
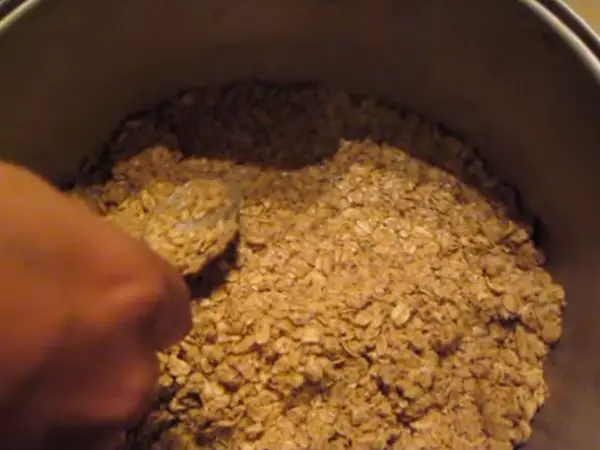
1. Mix the dry bowl ingredients together.


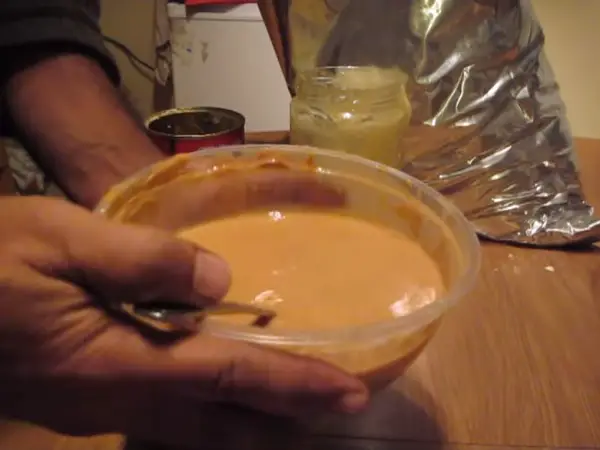
2. Mix the wet bowl ingredients together. To do this, you’ll need to use the microwave as you go until you have a nice, consistent liquid. Try 25 seconds in the microwave, stir, then another 25 seconds, etc. until it’s ready.

3. Pour the wet ingredients into the dry bowl and mix everything together thoroughly. The resulting mixture should be hard yet crumbly.

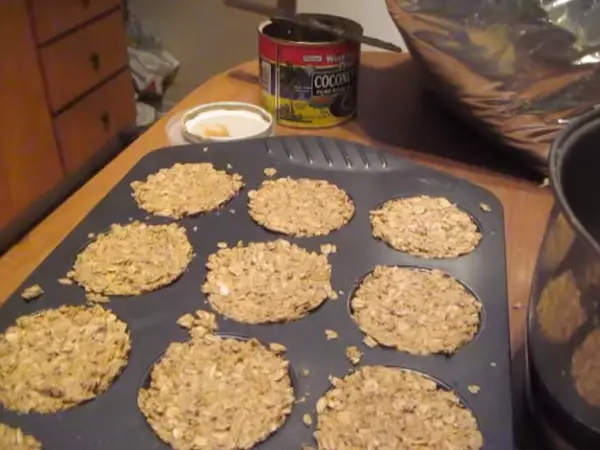
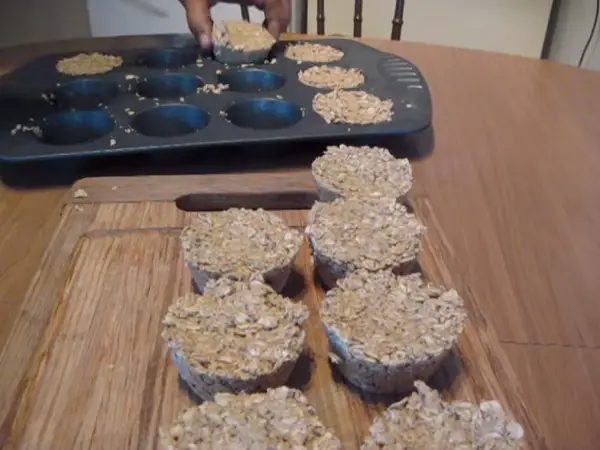
4. Use a 12-cup muffin pan to form the ingredients into “bars”. Then put them in the freezer for 12 hours. When they’re done, they should look like this:

5. Now just scoop them out and either eat them or store them. To store them for the long-term, vacuum-seal them and keep them in a cool, dark location. To make them last even longer, put an oxygen absorber in with each one. Otherwise, just put them in a Ziploc bag in the freezer.

I did the math and found that these bars come to about 550 calories each, which is pretty good, especially since they’re not even loaded with lots of sugar like most ration bars.
To learn more about this recipe and see it made, watch the video below.
You May Also Like:
This article first appeared on urbansurvivalsite.com See it hereOriginally Published Here: How To Make Emergency Ration Bars At Home
No comments:
Post a Comment