Canning Jar | How To Guide To Canning was first published on Total Survival
Explore the possibilities of a canning jar in this how-to guide to preserving food and storage which may just be useful in case SHTF!
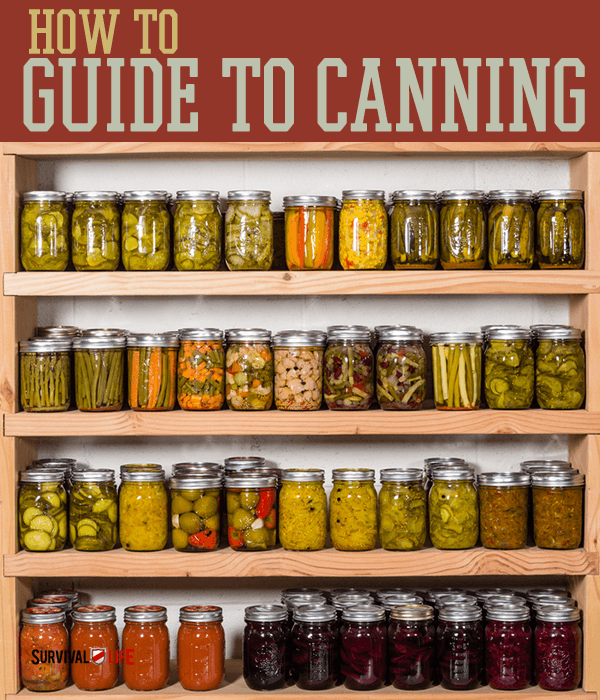
Canning Jar: Your Means to Preserving Food Longer
Water Bath vs. Pressure Canning
There are 2 types of canning methods, water bath canning, and pressure canning. Each canning process has its dos and don'ts; pros, and cons; and rules to properly preserve specific kinds of foods. Here are some helpful canning processing tips so you know what food to can and what canning method works for them:
- Fruits and high acid foods can be safely processed in a hot water bath.
- Vegetables not pickled and low acid foods must be processed in a pressure canner.
- A pressure canner is not the same as a pressure cooker.
- When pickling, use vinegar with at least 5% acidity.
- Do not turn jars upside down to seal them; even after water bath processing.
- Never re-use lids. It is safest to just get new rings and lids each time you can.
- Never use canned goods that look discolored. Toss it and be safe!
Water Bath Canning
Check out this video for a step-by-step guide to water bath canning jars:
Canning Supplies:
- Water bath canner
- Jar lift
- Jars, lids and rubber rings
- Jar funnel
- Knife
- Sugar
- Syrup (optional)
- Fruits and vegetables (all your choice)
This awesome infographic shows you how to can fruits and jams.
Pressure Canning
Essentially, pressure canning applies heat to food in a closed glass canning jar, such as Ball mason jars, to slow down or prevent natural spoilage. It does this by removing air from the jar to create a seal.
How to Use a Pressure Canner [Video]
Canning Supplies:
- Pressure canner
- Jar lift
- Canning jars, canning lids, and rings
- Jar funnel
- Knife
- Sugar
- Syrup (optional)
- Fruit/veggies (all your choice)
Instructions or Basic Steps:
- Read the recipe carefully, prepare the ingredients, and assemble your canning equipment.
- Wash, sterilize, and keep your canning equipment hot and ready for use.
- Wash your ingredients and prepare them according to the recipe.
- Scoop food into the jars leaving half an inch of headspace, then remove air bubbles.
- Wipe jar covers and rim with a clean damp cloth.
- Take the canning jar lids from hot the water, put them in place, and screw them snuggly into the jar.
- Place the jars in the canner using a jar lifter with at least 2 inches of water covering them.
- Process the canning jars according to instructions and recommended time and temperature.
- Take the jars out from the canner and place them in a wire rack to cool.
- Test if properly processed: Press down the center of the lead. If it pops up, it's not sealed and should be used right away, reprocessed, or refrigerated.
Check out this video from Top Products for brands of canning jars review:
Now you know what a canning jar can do with the 2 types of canning methods to properly store “the good stuff” for when SHTF. Take your lessons from the proverbial survivalist ants who knew when and how to preserve food in abundance. Next time any fruit and veggie are in-season or you've harvested more than enough, you now know what to do with those!
Which of these canning methods have you tried before? Tell us all about it in the comments section below!
Up Next: DIY Survival Food You’ll Actually Want To Eat
For more awesome SHTF survival items, you can’t make at home, check out the Survival Life Store!

Follow us on Facebook, Instagram, Twitter, Pinterest, and Tumblr!
Editor’s Note: This post was originally published on April 2, 2014, and has been updated for quality and relevancy.
This Article Was First Found at survivallife.com Read The Original Article HereRead Full Article Here: Canning Jar | How To Guide To Canning
No comments:
Post a Comment